

6 Finally Finished!
>> Tuesday, August 25, 2009
One more project to check off on the Rehabilitation Station to-do list! I
t is a good day, my friends.
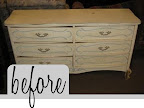
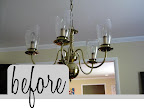
Take a gander at our sparse before bedroom…


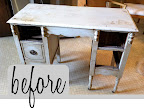
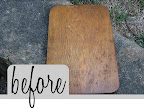
First, we sanded, primed and painted the platform bed, and what a difference that change made! Then we moved on to the bedside tables. With a bit of wood glue to fix a wobbly leg and several coats of paint, they were back in action.
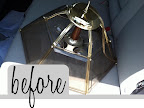
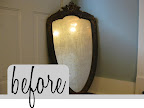
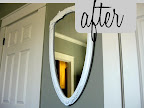
Outfitting a couple of lamps that we already had hanging around with new shades and filling black frames that were going unused with photographs printed from the web served as inexpensive accessories for the space.


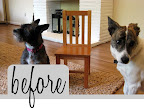
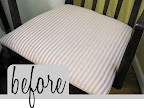
Finally, we tackled the headboard. The most imaginative—and fun—piece in the room originated from the headboard and footboard of an old crib.
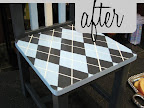
We started by painting the wood (what else?) black. Too add a softer touch, we crafted two upholstered panels and attached one to the center of each of the two pieces. I was unsure how this would play out, but I definitely think it was a good choice!


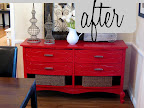
Much better! Now it at least looks like someone actually lives here…

Budget Breakdown:
| Platform bed | FREE |
| Primer, paint & supplies | $25 |
| Bedside tables (2) | FREE—thanks M. Bond! |
| Headboard | $10 |
| Fabric & upholstery supplies | $17 |
| Lamp shades | $30 |
| Total | $82 |
Now that our bedroom is in working order, other projects can move up the list. Stay tuned for more adventures in the Rehabilitation Station.
-Cara


6 comments:
Wow! It looks amazing!
What size bed??
Great question! This was a queen sized bed.
Cara
I'd love to try this... Did you attach the crib sides to each other? Did you have to attach the pieces to another piece to make the tall enough for the back of the bed? Basically, can you give some more details about how you assembled the headboard? Thanks!
Great questions! The way the base of my bed was set up, there was actually a little notch that I could prop the legs of the crib on and then just lean against the wall. Kind of hard to explain but unless you had the exact same frame, this method most likely wouldn't work.
With a standard bed frame, it probably would be best to mount the crib sections directly on the wall. That way you could make sure the height of the headboard is where you want it to be and, not to mention, secured to keep it from falling on your head in the middle of the night.
Hope this helps!
Cara
How did you stick the cot sides together?
Post a Comment